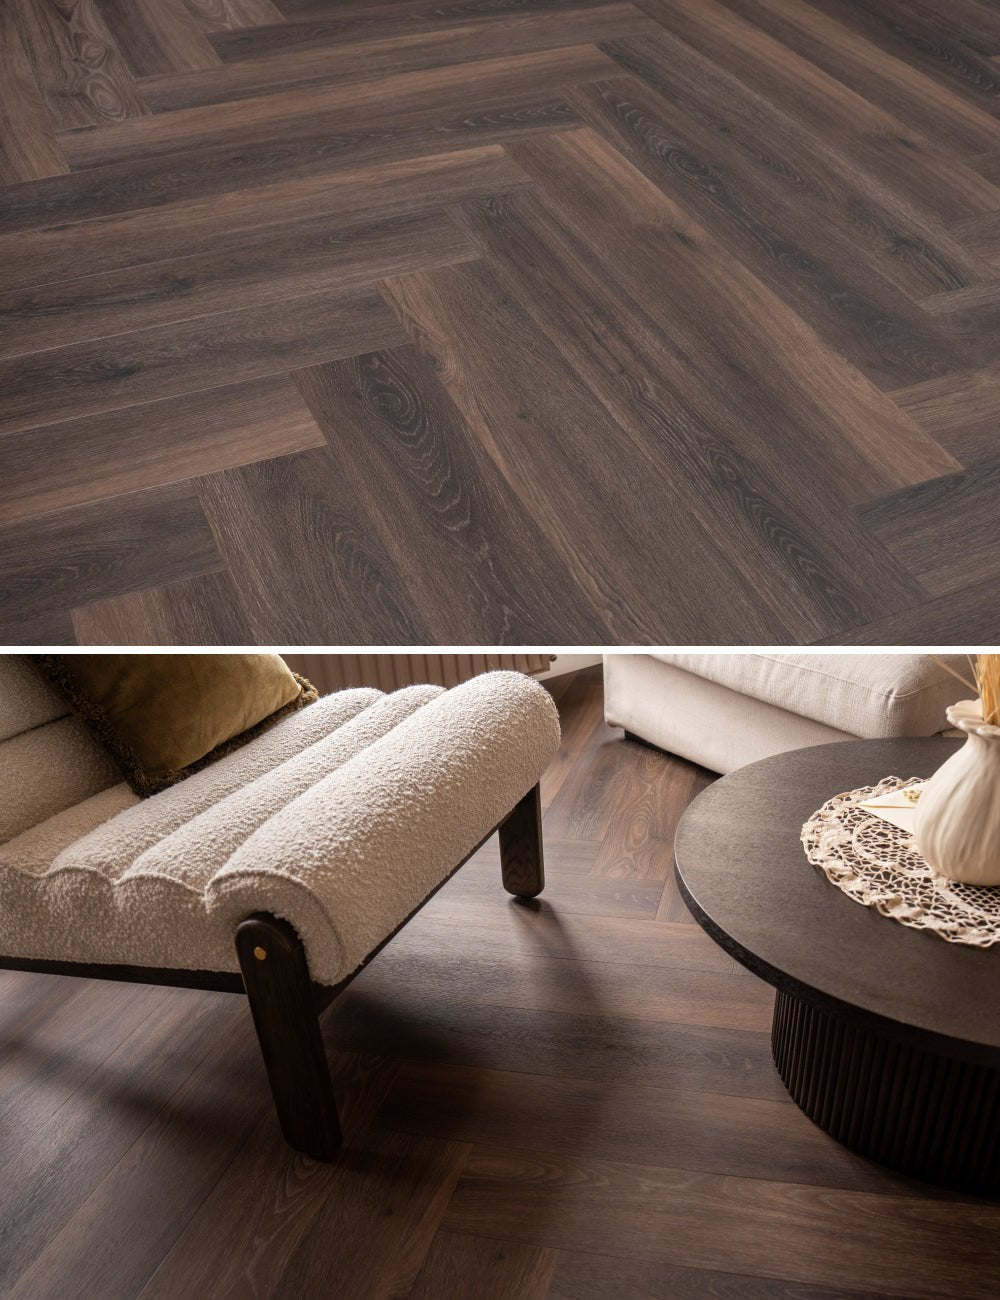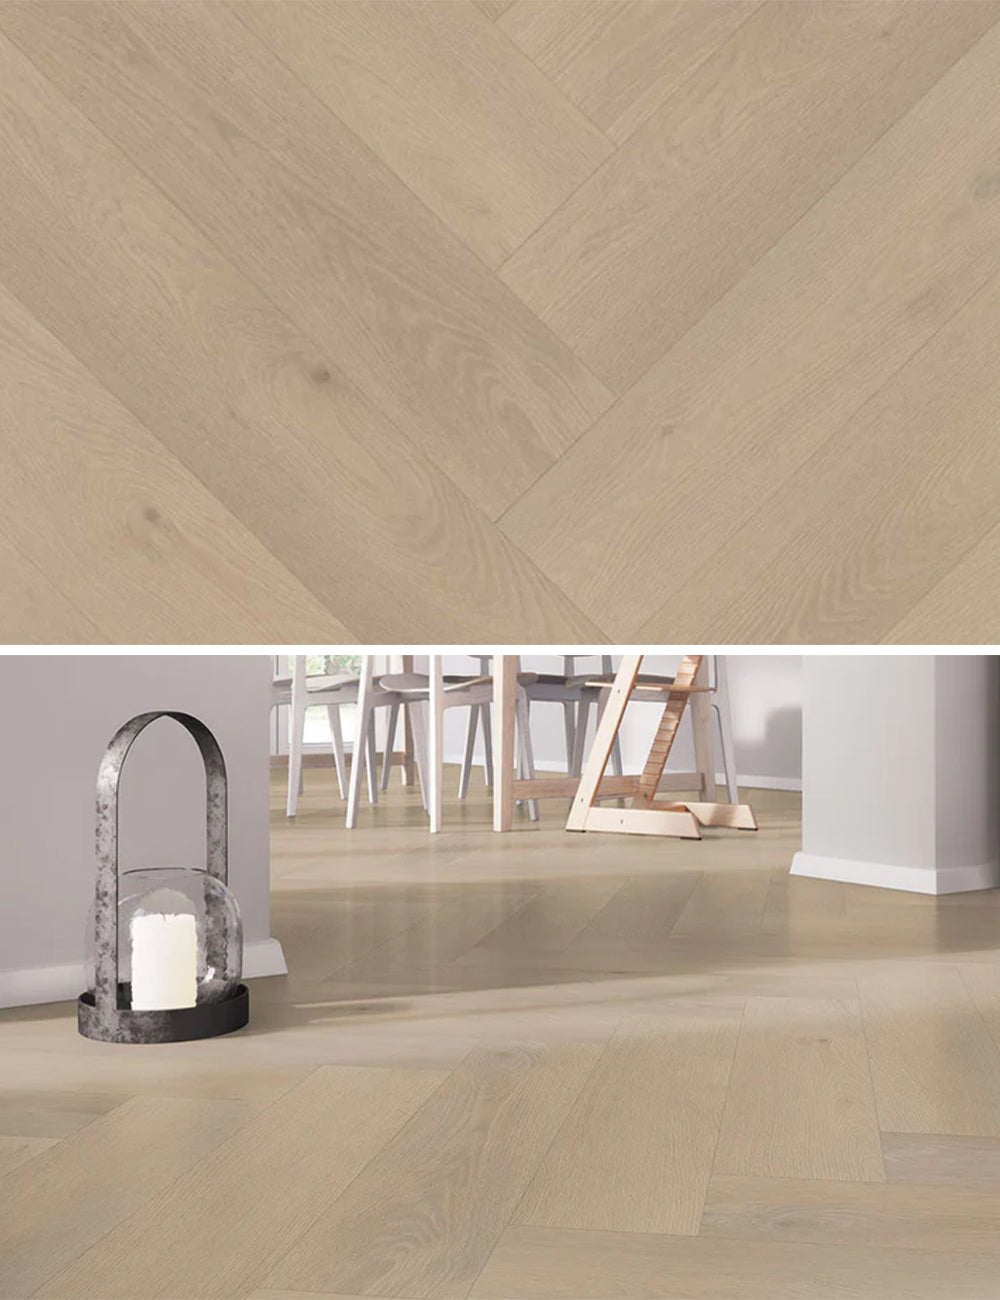

Photo 1: Ceramic floor tiles with a print are grouted with light grey grout
Tips for grouting floor tiles
Grouting floor tiles is a process that can be carried out by anyone with a little DIY experience. The most important part of the process is choosing the right type of grout for the tiles you are using.
There are many different types of grout available on the market. We will try to give you some practical tips for choosing the right grout and for the grouting process itself. Be careful with B-brands and do your research before you just start grouting.
Look and compare
In addition to reading our grouting tips for floor tiles, it is very important to do your research with the party from whom you purchase the grout. Tell the selling party about your project, the type of tiles, the color of the tiles, the subsurface on which the tiles are laid, and ensure you are well informed.
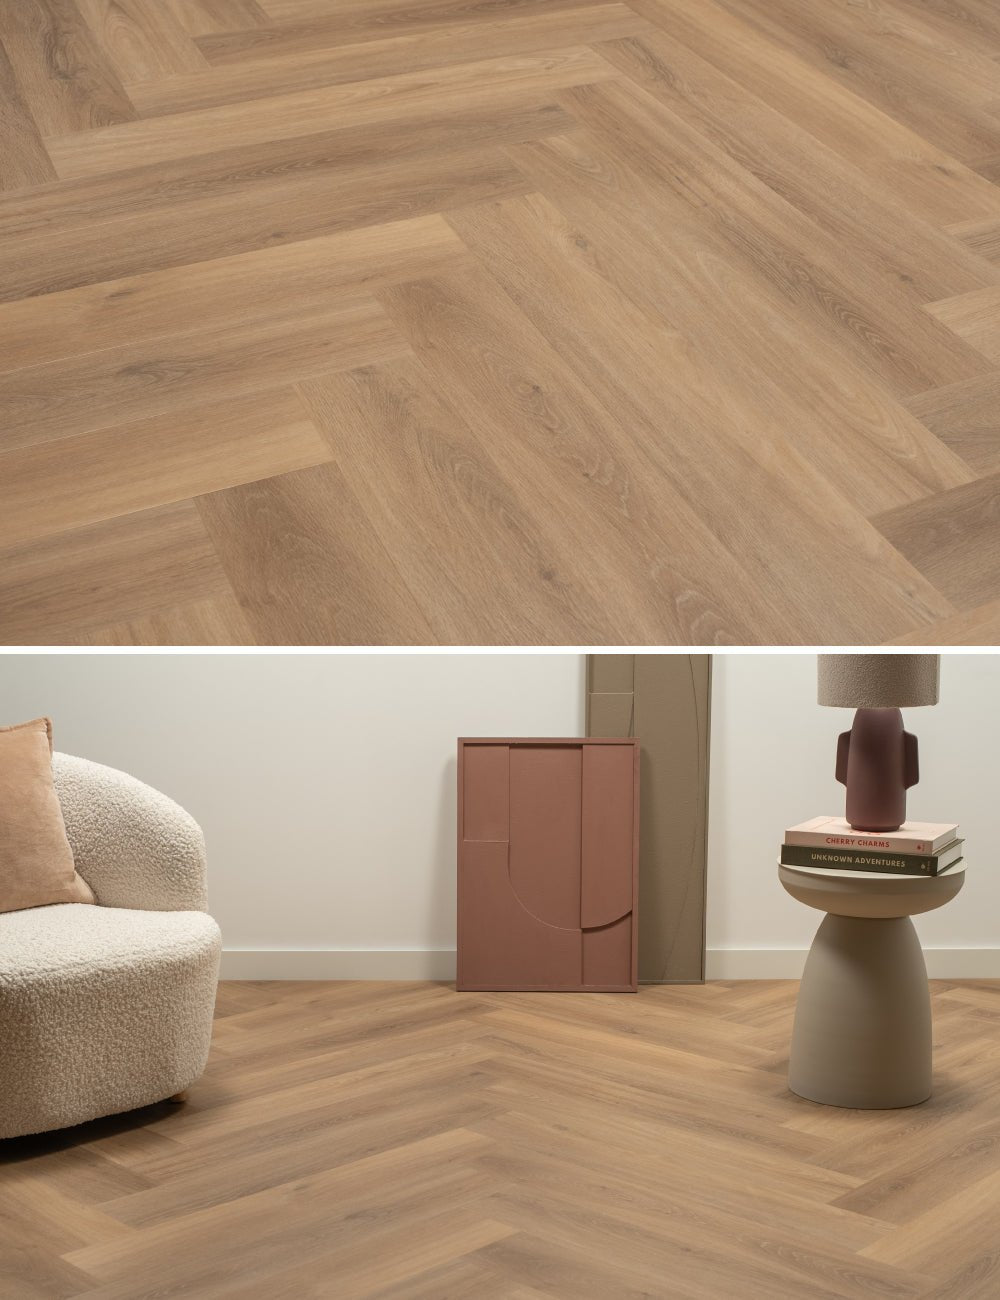
At tile merchant Solza, we specify the most suitable grouts for each tile
At tile wholesaler and webshop Solza, we only sell premium brand Schomburg. This grout, available in various shades of white, grey, and anthracite black, is of high-quality German excellence.
Why grouting floor tiles is almost more important than the quality of the tiles themselves
Grouting floor tiles is an important part of the tile installation process.
Grout gives a floor the right look
Before delving into the practical reasons for grouting floor tiles, there is first an aesthetic importance to grout. Many tiles are described as dimensionally stable, but in practice, we see that no tile is 100% uniform. If we were to lay tiles tightly against each other, these dimensional deviations would be highly noticeable. Grout allows us to compensate for these deviations.
Also, a floor looks much neater and more neatly finished with grout. Choose a suitable grout width yourself. Common thicknesses are 3mm or 5mm. Later in the blog, we will elaborate on the appearance of grout.
Sealing / waterproofing a tiled floor with grout
No matter how good or expensive your floor tiles are, the grout largely determines the lifespan of your tiled floor. Grout helps to completely seal the tiled floor. Especially in wet areas such as the bathroom and toilet, you don't want water to get under your floor, with all the consequences that entails. Also, in places where you frequently spill and therefore mop, you want the floor to be waterproof.
Tiles stay in place better due to grout
Floor tiles are often glued to the subfloor in a room. However, over time and with frequent use, tiles could come loose from the subfloor. The chance of tiles coming loose is not very high, but by grouting the tiled floor with the correct grout, you ensure that this chance is minimal. The grout holds the tiles in place.
The grout also ensures that no moisture can get under the tiles. Moisture can freeze in winter. When water freezes, it expands. This process can move the tiles out of place.
The right grout prevents cracks and damage
Often, grout is somewhat elastic. Floors always move without you being able to see it, for example due to tremors or vibrations. These elastic joints ensure that the floor does not crack or the tiles get damaged.
Grout contributes to an anti-slip floor
Floor tiles, especially ceramic tiles, are available with an anti-slip top layer. However, many tiles are also slippery, for example, when they are wet or when dust or sand gets on them. Whether or not you have chosen an anti-slip tile, grouting contributes to a non-slip floor. Grout is not slippery when it has dried.

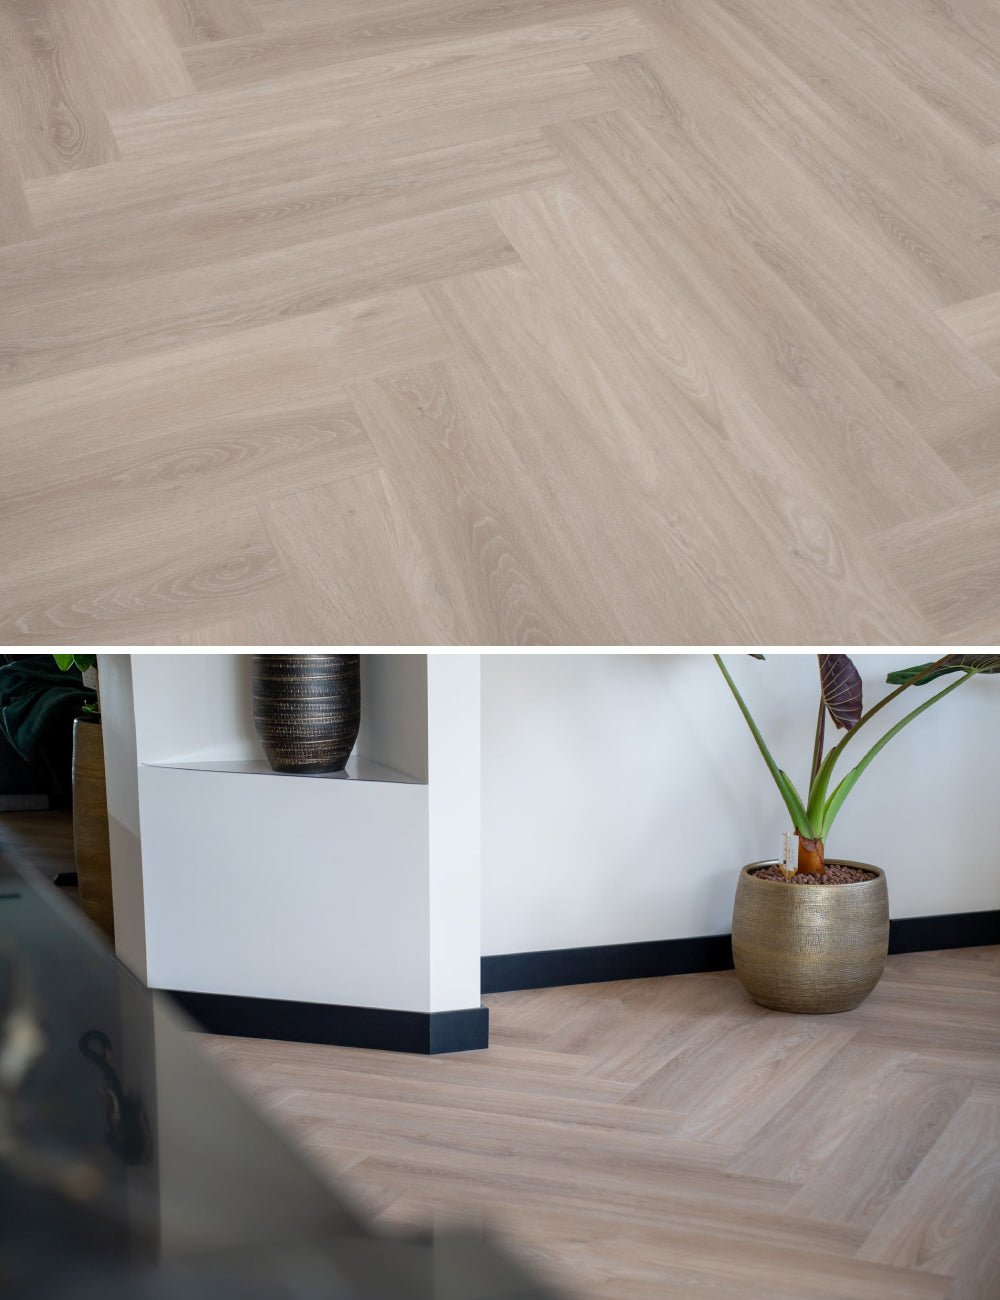
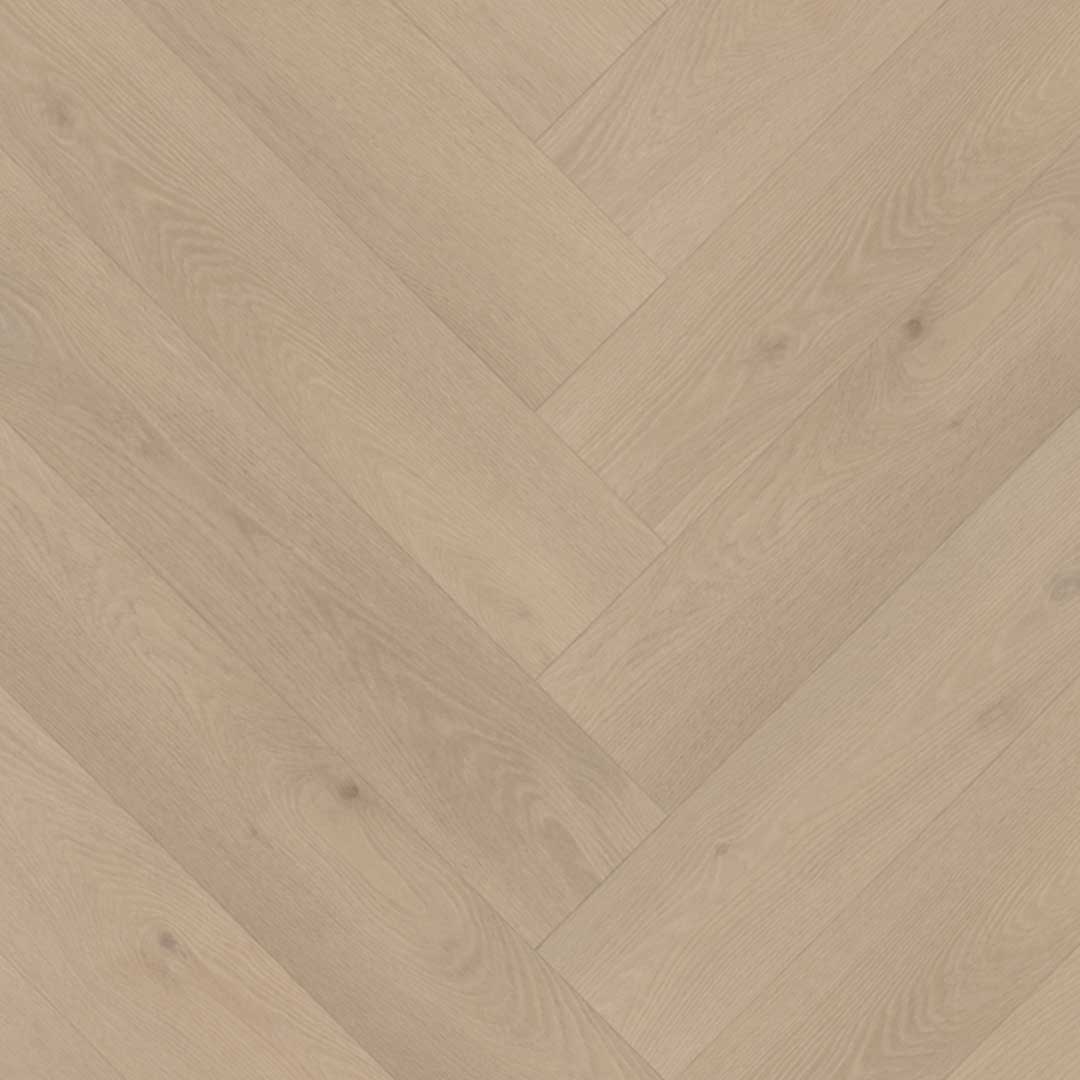
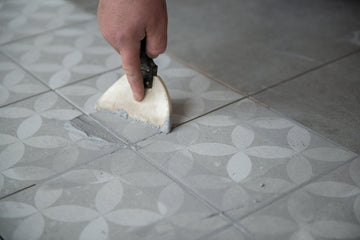
Photo 2: Large-format ceramic floor tiles are grouted with grey grout
Which grout to choose for a tiled floor?
You now know that you need to grout your tiled floor and why this is so important. Now that you know all the benefits of grout, you still need to know which grout to buy exactly. There are an enormous number of different types, colors, and qualities. As we emphasized earlier, it is very important to get good advice from an expert in a specialist shop. This doesn't necessarily have to be in a physical store; it can also be online.
We've already listed some practical tips for you on choosing grout for tiled floors.
Epoxy grout or cement-based grout?
Epoxy Grout
There are many types of grout for tiled floors, but the most popular are epoxy and mortar grouts, or cement-based grouts. You will most likely need one of these two types of grout.
Epoxy grouts are generally used for commercial applications because they are very durable and stain resistant.
Epoxy grout is often more expensive, more difficult to apply, and available in a limited number of colors. It is often used outdoors, in swimming pools, or in public areas with a lot of foot traffic. This grout is colorfast, weather-resistant, elastic, and resistant to stains, chemicals, and mold. You could choose this grout for a bathroom or toilet.
Cement-based grout
Mortar joints are more often used in living rooms, kitchens, hallways, or other tiled floors in homes. Cement-based grout is available in any desired color and is easy to apply.
Which grout color to choose?
After you have chosen the type of grout you will use, select the color. Our tip is to choose a lighter color grout than the color of the tiles. Never opt for colored grout; you want a subdued grout color. The grout should not stand out more than the tiles themselves.
Light grey grout is almost always a safe choice for tiles in grey tones. If you choose very dark tiles, you can also opt for a dark grey grout. For brightly colored tiles or white tiles, a white grout looks best. Please note that white grout is very susceptible to stains.
Quality of the grout
Now that you know which type of grout and which color grout to choose, check the quality of the grout. Grout is used to finish an expensive tiled floor. So, DO NOT skimp on it. We often see people opting for cheap tools and processing materials. This is because the floor itself already entails significant costs.
However, this is the dumbest thing you can do. It's often only a few tens of euros more that you pay for good quality grout. Don't skimp on this so that your grout and your tiled floor will last for years.
Tips for applying grout
Applying grout is a breeze for a relatively experienced do-it-yourselfer, especially if you take our tips into account.
What do you need for grouting floor tiles?
-
A super clean bucket
-
Grout
-
A mixer
-
One or two sponges
-
A sponge float
-
A rubber float
-
A bucket of clean water

Photo 3: Bucket, sponge float, rubber float, sponge // Rubi grouting tools
Step-by-step plan for grouting floor tiles
When grouting floor tiles, you need to follow a few simple steps to achieve the best results. Here is a basic step-by-step plan for grouting floor tiles:
1. Clean the tiled floor very thoroughly with clean water. Make sure the floor is free of any adhesive residue that may have occurred during the laying of the floor tiles.
2. Begin by mixing the grout according to the manufacturer's/packaging instructions. Use the clean bucket and mixer for this. Make sure you use the correct type of grout for your tiles. Porous tiles, for example, require a different type of grout than ceramic tiles.
3. Wet the tiled floor with a clean sponge. Make sure not a single spot is missed. Grout is very stubborn and can cause stains. If you apply grout and spill it on wet tiles, it is easy to remove with a sponge.
4. Apply the grout to the joints with a rubber float or sponge float. See which one you find easiest to work with. Work in small sections and ensure that the grout is pressed firmly into all joints.
5. Let the grout cure for about 15 minutes, then use a damp, but clean sponge float to remove excess grout from the tile surface. Be careful not to scrub too hard, as this can damage the tiles.
6. After you have removed most of the excess grout with the sponge float, or one of the sponges, you need to clean the tiled floor very thoroughly. Read the packaging carefully to see how many minutes this is allowed. Use the second clean bucket with clean water and a new clean sponge for this. Make sure you remove all grout residue from the tiles. If you leave it on for too long, it will be difficult to remove and you will end up with stains.
7. Repeat step 6 until the tiles are spotless. Be careful not to use too much water when cleaning. The grout should not become soaking wet again.