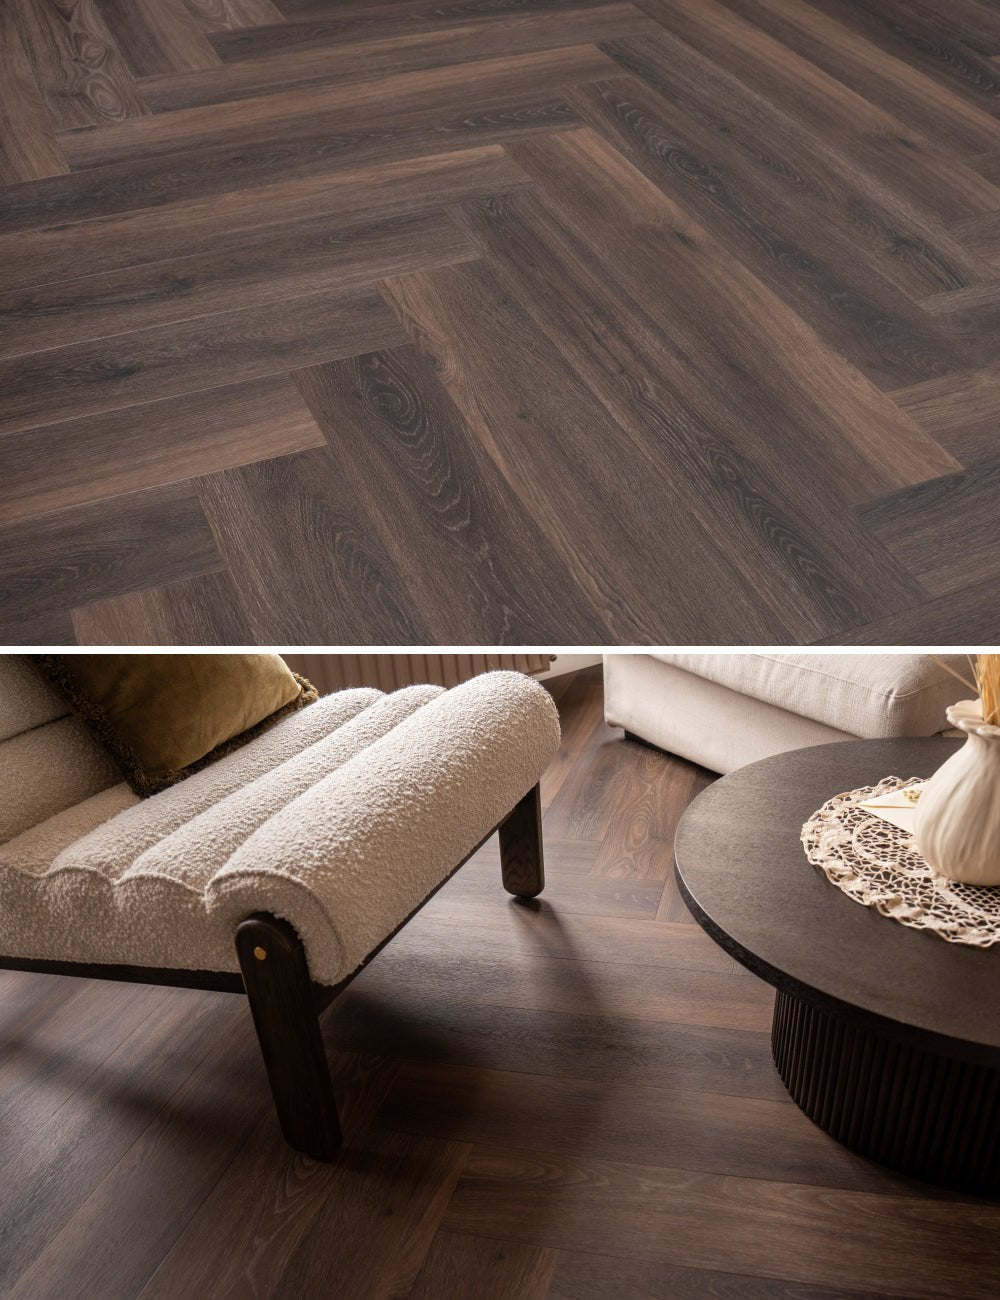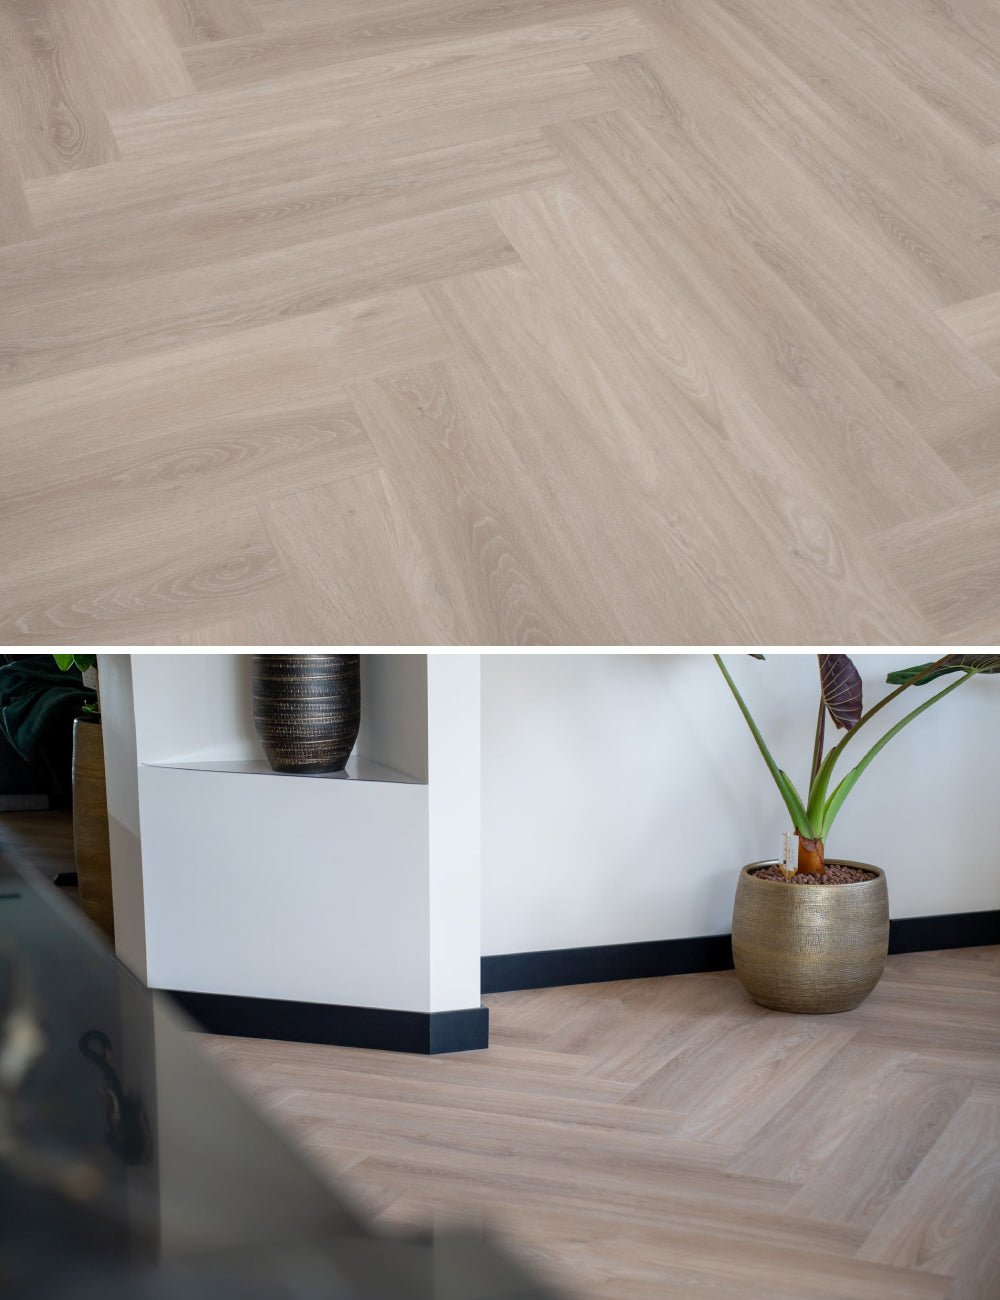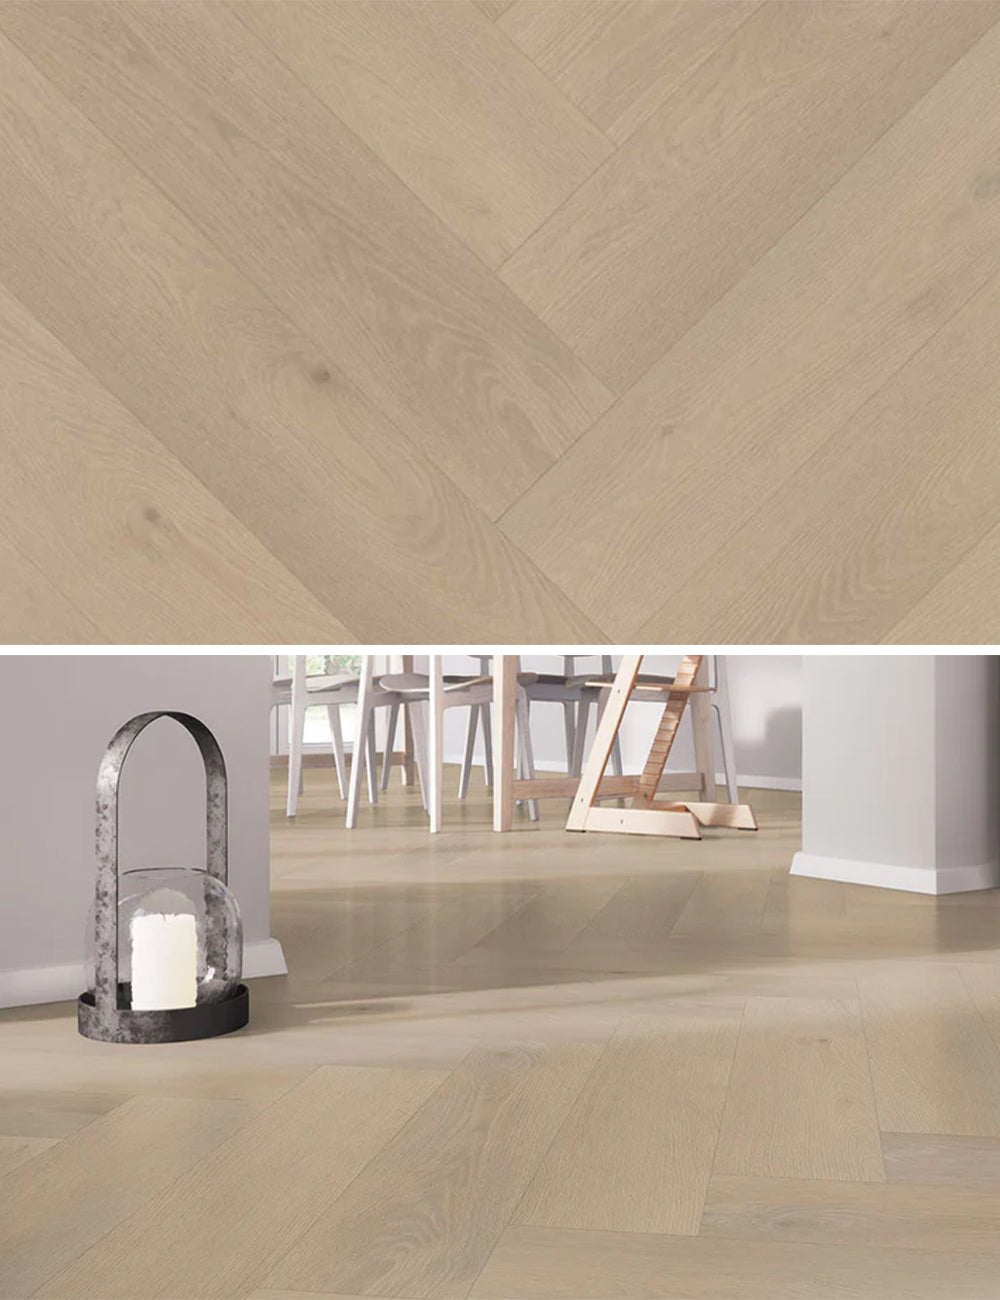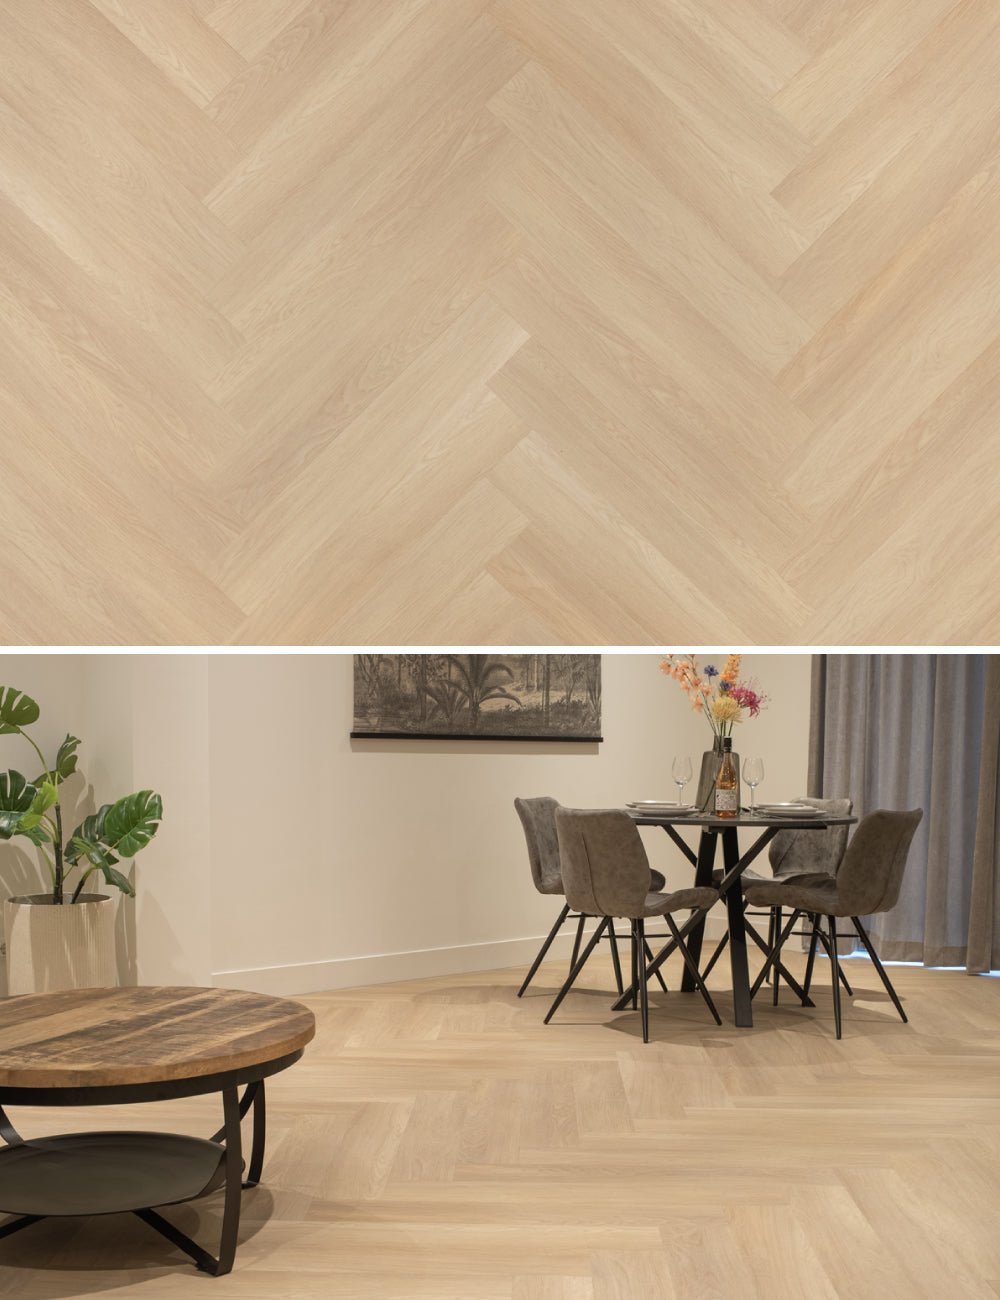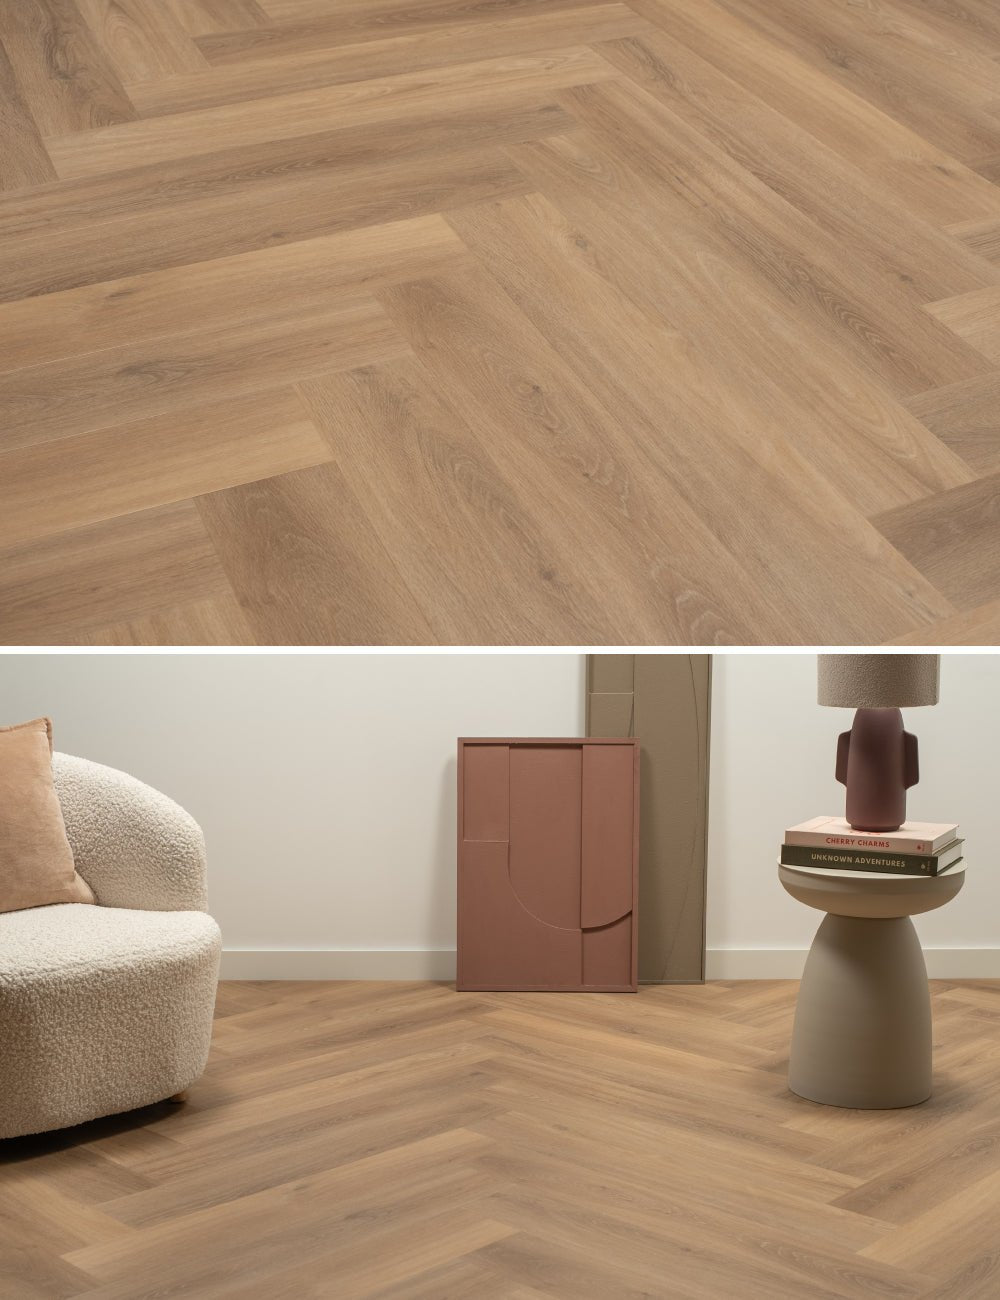
Laying floor tiles is perfectly manageable for the handy DIY enthusiast, but it requires thorough preparation and the right accessories.
By following our step-by-step plan, you can ensure that your floor tiles are laid correctly. This article describes the essential steps, from cleaning the subfloor to finishing the edges. We briefly but powerfully discuss the necessary materials and actions, so you can get started with laying floor tiles well prepared.
STEP 1: Cleaning the floor tile subfloor
Before you begin laying floor tiles, it is essential to thoroughly clean the subfloor. Remove dirt, adhesive residue, dust, and other contaminants. A clean subfloor ensures better adhesion of the tiles.
STEP 2: Applying floor primer or pre-coat
After cleaning the subfloor, apply a primer to seal the floor. This prevents the leveling compound or adhesive from being absorbed into the subfloor. Consult the primer's packaging for the correct mixing ratios and instructions regarding application and curing.
STEP 3: Leveling the floor
To create the flattest possible subfloor, apply leveling compound after the subfloor has been sealed with primer. Our leveling compound distributes itself evenly. Ensure the leveling compound is fully cured before you begin laying the tiles.
Again, consult the leveling compound's packaging for the correct mixing ratios and instructions regarding application and curing.
STEP 4: Applying floor primer or pre-coat (2nd time)
After the leveled floor has cured, apply another layer of primer. This ensures good adhesion of the tile adhesive and prevents excessive use of adhesive. View our primers here. At tile store Solza, we exclusively work with top brands.
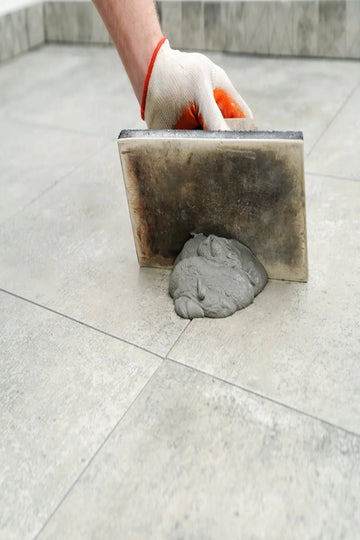
STEP 5: Laying tiles with tile adhesive
With the leveled and primed floor, and after it has dried, you can start laying the tiles. Ensure that both the floor and the tiles are fully combed with tile adhesive to prevent hollow spaces under the floor. Maintain a minimum distance of 2 mm from the wall to create expansion and connection joints.
Consult the tile adhesive's packaging for the correct mixing ratios and instructions regarding application and curing.
In another blog post, we will delve further into laying tiles. In this blog, we discuss which materials you need to lay floor tiles.
STEP 6: Grout for tiles
After all tiles have been laid on the floor and the adhesive has cured, you can fill the joints between the tiles. Use a suitable grout, such as our Crystal grout or Crystal flex grout, depending on the width of the joint. At Tile Shop Solza, we exclusively work with Schomburg grout, which is top German quality. Moreover, it is available in various colors from white to gray.
Thoroughly clean the tiles with a sponge and water before starting to grout. Protect the edges along the wall well to prevent grout from getting into them (these will be filled with sealant later). Allow the joints to fully cure and carefully clean the tiles to remove any grout residue.
Consult the packaging for specific instructions on timing and cleaning.
STEP 7: Finishing tile edges, floor skirting boards
To neatly finish the tiled floor, the edges between the walls and the tiles must be treated. Remove the material you used to shield the edges and clean them of dust and dirt. You can choose to apply sealant to the edges for a sleek finish; use Escosil sealant for this.
An alternative option is to install skirting boards above the connection joint. Various skirting boards are available, such as high white MDF skirting boards or wooden skirting boards in colors that match the tiles well.
It is also possible to combine both options by using both a sealant joint and skirting boards, creating a decorative trim.
Questions? Call or email tile dealer Solza for advice, tips, and more.