Are you considering applying a glued PVC floor on top of a Fermacell subfloor? There are a few points to keep in mind. The materials used and the process to follow are extremely important. In this blog, we will try to explain everything as thoroughly as possible. We will even provide you with a step-by-step guide for leveling Fermacell floorboards.
Why a Fermacell subfloor and what are these boards?
Fermacell offers several significant advantages for subfloor applications. These boards are extremely strong, impact-resistant, and fire-resistant. In addition, Fermacell boards have sound-insulating properties and are often moisture-resistant. Fermacell floorboards are generally cross-glued, creating a lap joint. Fermacell boards are sometimes also referred to as gypsum fiberboards.
We often see people with a wooden load-bearing floor opting to install Fermacell floorboards over their wooden load-bearing floor during, for example, a renovation. The main consideration here is often to create a flat subfloor that also reduces sound.
Which PVC floors can be installed on Fermacell?
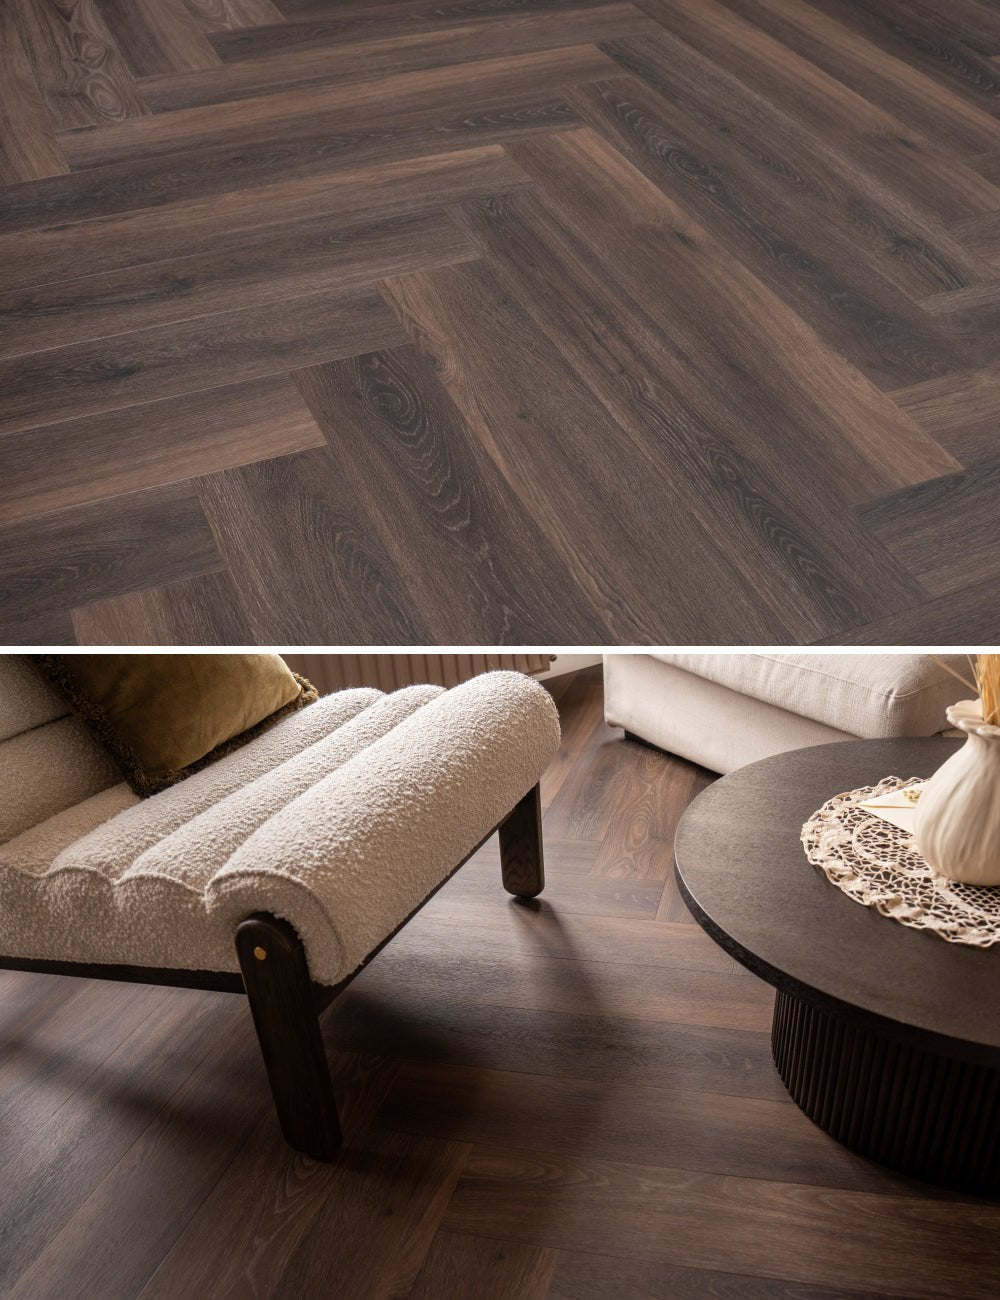
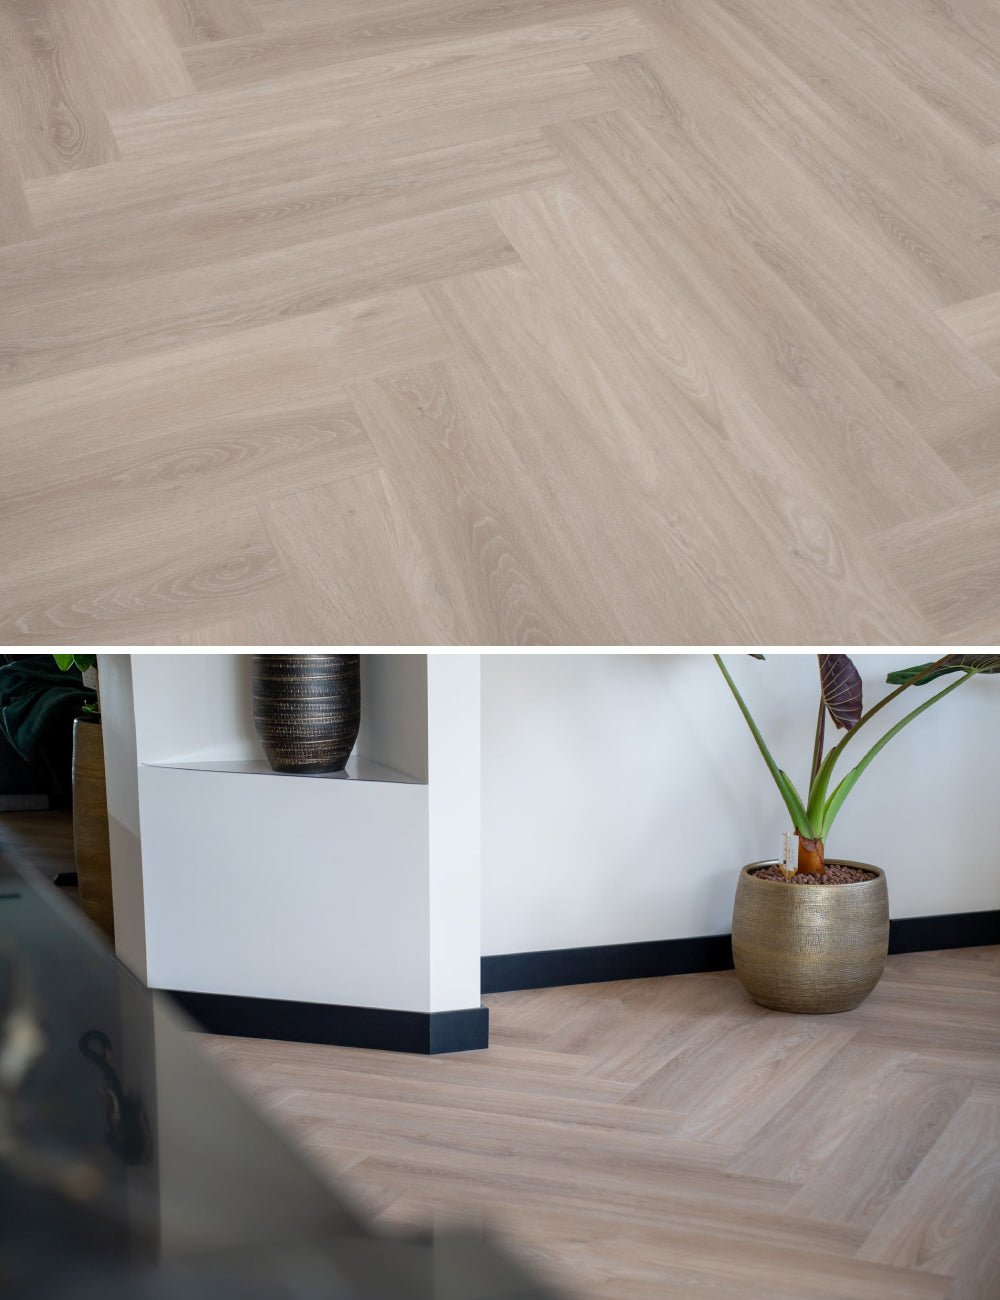
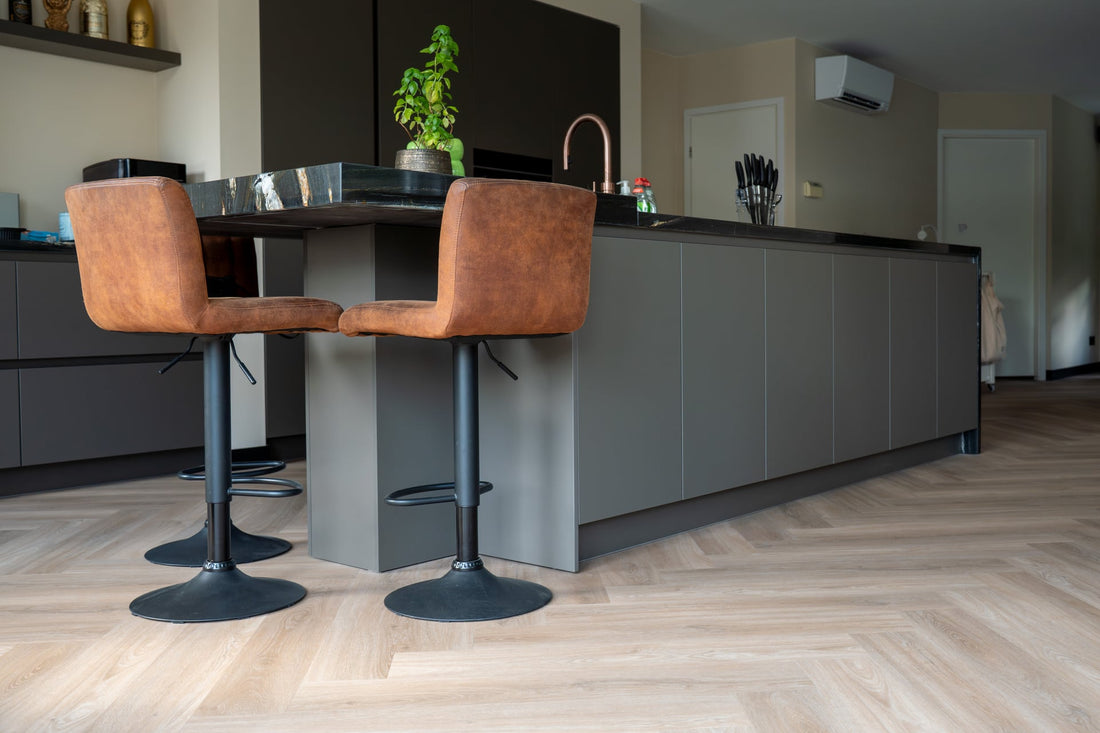
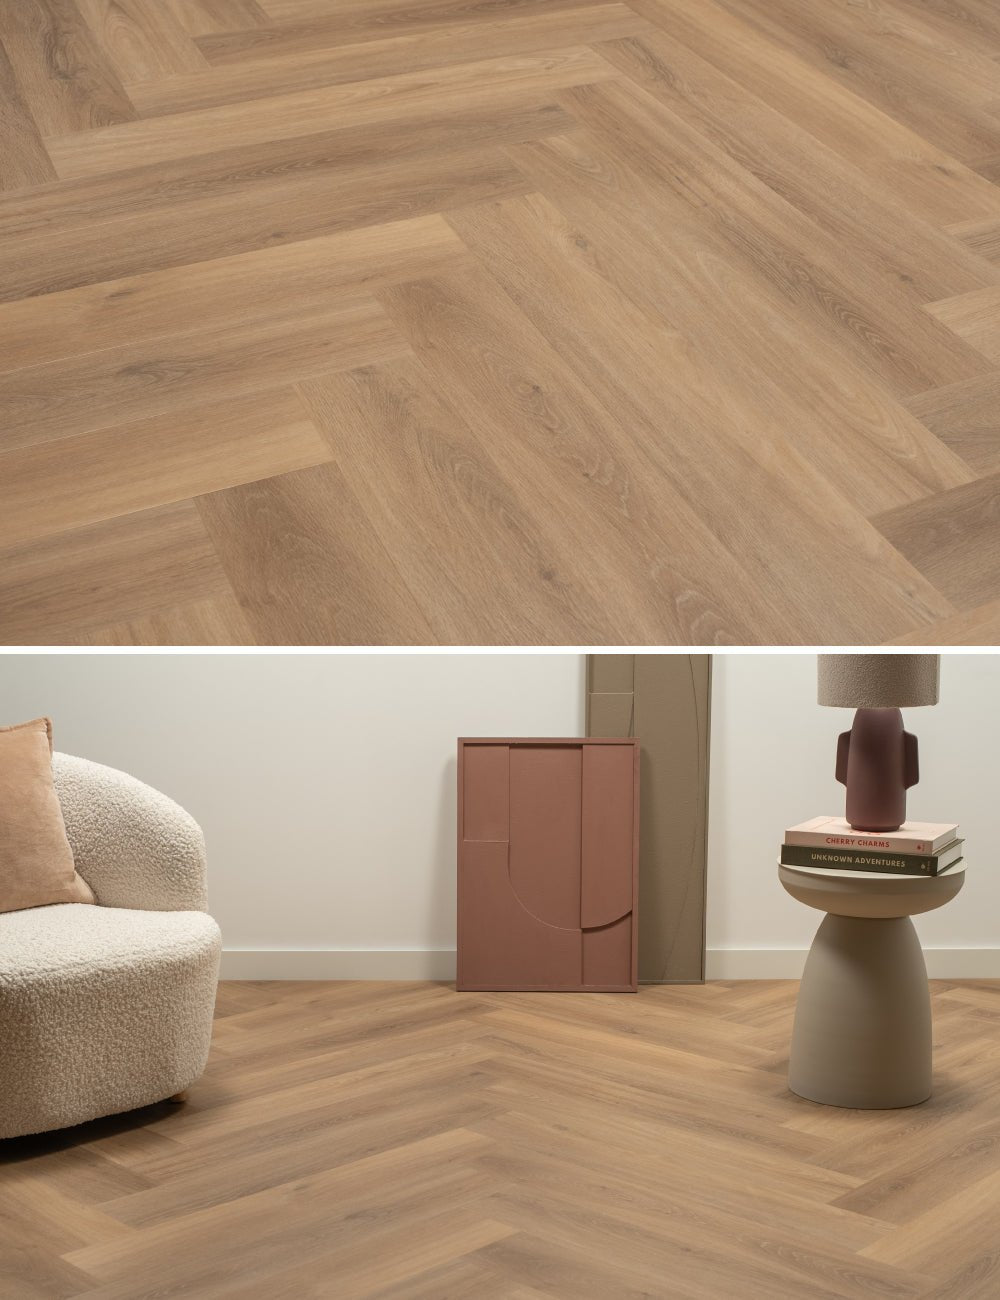
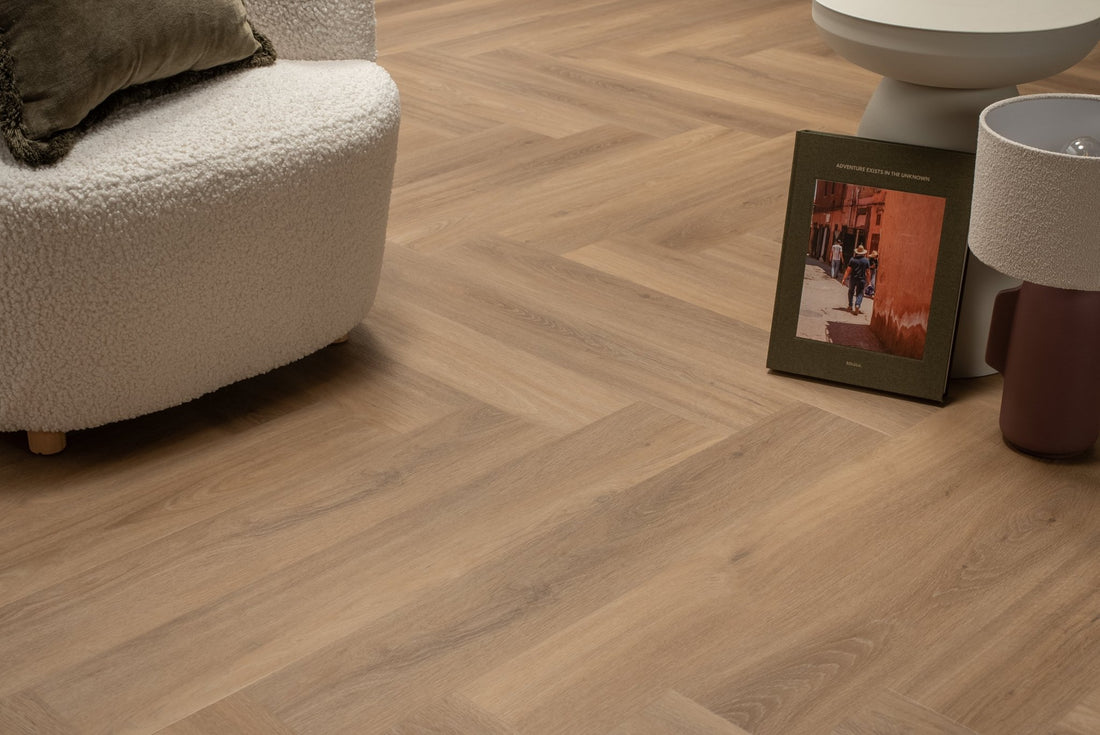
In principle, almost all types of PVC floors can be installed on a Fermacell subfloor. As long as the Fermacell boards are perfectly flat, both glued PVC floors and click PVC floors can be installed on them. Click PVC floors should be laid with the correct underlay for the situation, while glued PVC floors first require a leveled surface. Therefore, it is necessary to level the Fermacell boards with suitable leveling compound.
Which leveling compound to use on Fermacell floorboards?
Unfortunately, it is not possible to simply use any type of leveling compound on a Fermacell floorboard. Do you want to create a beautiful surface on this floor where you can apply glued PVC? Then it is necessary to use a gypsum-based leveling compound, as Fermacell is also gypsum-based. You could therefore look for gypsum-based leveling compounds from brands such as Uzin, Thomsit, or Co-Pro.

Leveling Fermacell, how do you do that?
To help you with leveling your Fermacell floorboards, we have done our best to create the clearest possible step-by-step plan. If you still can't quite figure it out, please feel free to ask our specialists for advice. It is also possible to leave this work to our skilled professionals.
Step 1: Preparation
A good start lays the foundation for success, so in this case, it is necessary to ensure that the area where you will be working is clean and dust-free. Make sure you remove any loose parts and thoroughly vacuum the room in question.
Step 2: Seal everything properly

Are there small holes in the floorboards or gaps between the various boards through which the leveling compound could leak? Then make sure to seal them well with a repair mortar. Generally, we see that professionals prefer, for example, the Uzin NC 118. You want to prevent your leveling compound from ending up one floor lower or in the crawl space.
Step 3: Treat the boards with primer
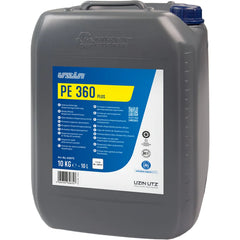
The third step involves pre-treating the Fermacell boards with a primer, also known as a pre-coat. This step is essential for optimal adhesion. The primer can be applied with a roller. For larger surfaces, it is useful to use a roller with an extension pole. Along the wall, it is advisable to apply the primer with a brush, for example, a block brush. Make sure no puddles of primer form and avoid overly thick layers. It is also very important to choose the right primer. For Fermacell boards, we recommend using UZIN 360 Primer.
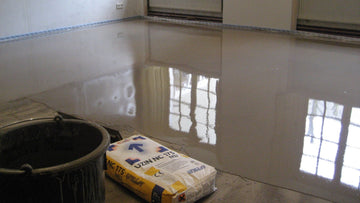
Step 4: Start leveling
Spread the leveling compound evenly over the floor and distribute it evenly over the surface of the Fermacell floor using a trowel or leveling rake. Make sure to apply the correct layer thickness in one go.
After the leveling compound has been applied, use a spiked roller to aerate the floor. This helps remove air bubbles and contributes to an even distribution of the leveling compound, resulting in a smooth finish. It is advisable to perform this task with multiple people: one person for mixing, one person for applying the leveling compound, and one person with the spiked roller.
Step 5: Wait and dry
After the leveling compound has been applied to the Fermacell floor, it is essential to let it dry. The time required for this varies depending on the leveling compound used, the thickness of the layer, the temperature, and the humidity. Generally, the floor can be walked on after about four hours, but the curing process is not yet complete at that point. Full curing can take an average of 24 hours, but this can vary depending on the conditions.